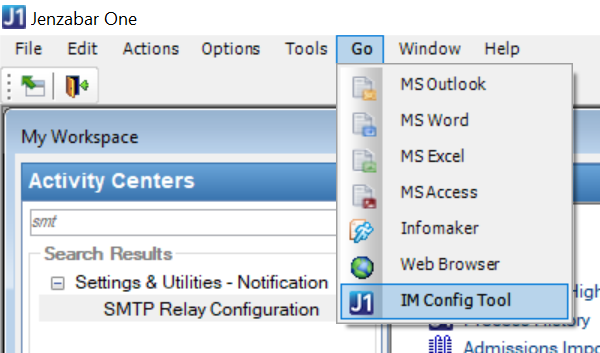
The Infomaker configuration tool can be found in the J1 Go menu
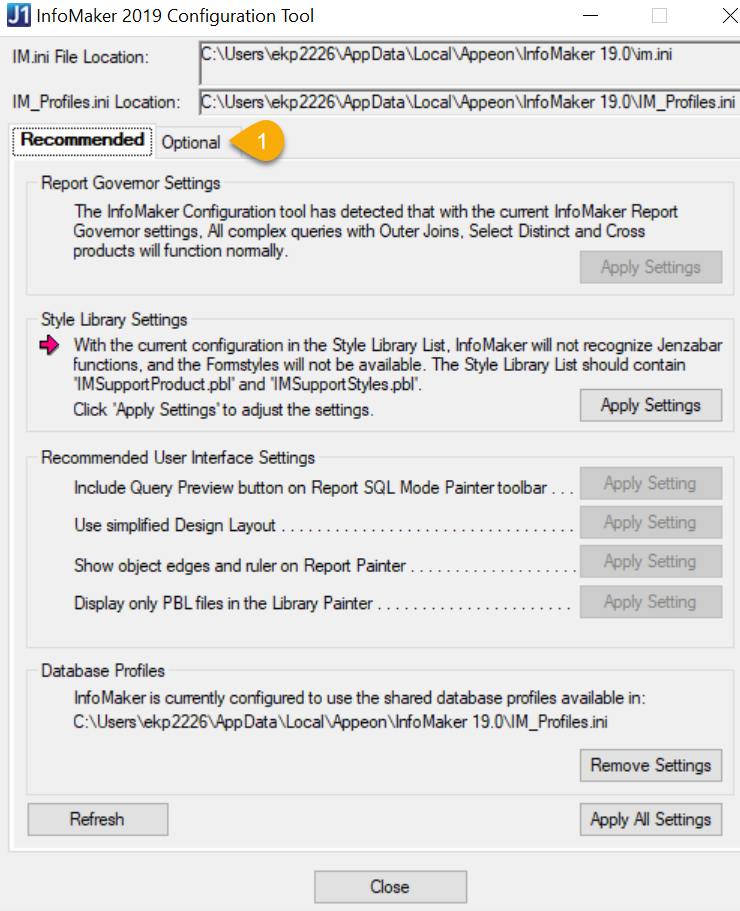
Select the "Optional" tab in the Configuration tool
Remove the Infomaker profiles


Once you have removed the InfoMaker Profiles, add back the profiles that you need; J1 Desktop and Play Database

Click on "Create Shared Profiles"
Click on the "Recommended" tab

Click on Yes to recreate the shared profile.

On the Recommended tab:
Click "Apply All Settings" and close
